Remember this poor fellow? I picked him up at the very end
of my big rummage sale-ing day, in spite of the fact that he was in
pretty rough shape.

His previous owners had broken off the drawer slides, and decided to

Because he was made out of laminate (which was peeling in
places), instead of “good” wood, I didn’t have any qualms about painting over
his shabby exterior. And I knew
immediately what I would use—CHALK PAINT! After all, isn’t EVERYBODY using
chalk paint these days? :) Actually, I had heard glowing tales of this wonder
paint— goes on over everything, even nasty veneer? And no sanding before-hand? Now
you’re talking!
But since $30+ for a quart of paint is sort of out of my
budget, I decided to go the home-made route. Instead, I used this recipe
that I stole borrowed from the Gardners to Bergers blog:
2
parts paint
(They
say to use flat latex paint,
but
I used satin exterior latex)
1
part plaster of paris
(which
I got with a 40% off coupon at
Joann
Fabrics- wahoo!)
Just
enough water to make spreadable :)

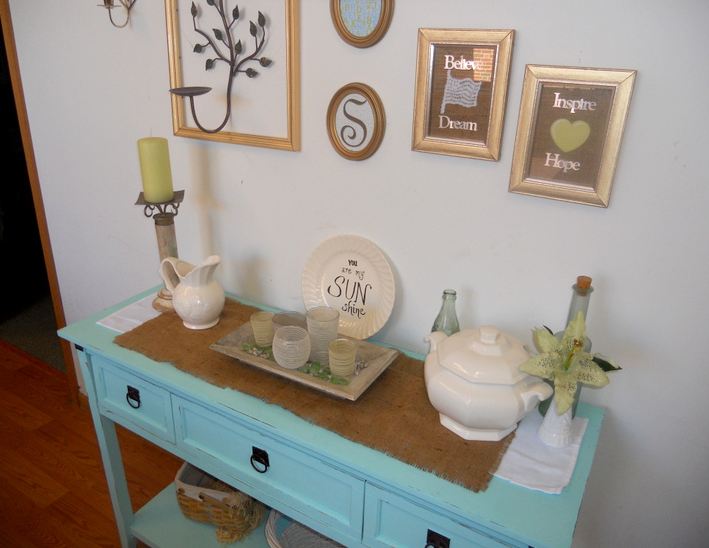
I found this
incredible shade of aqua/seafoam in the mis-tint aisle at Walmart (it’s Glidden’s
Satin Exterior Latex), but I’m definitely going to have to find its matching
shade, because I’m in LOVE with this color! This was really a jump out on the
color limb for me—I tend to play it safe in the color department (if it’s not
white, brown, or black, then it must be green! LOL). But I’ve been inspired by all
of the turquoise yumminess floating around
blogland & Pinterest lately, and by the new curtains that I recently hung
in my dining room:

Don’t worry, I plan
on doing a full “dining room reveal” once I get my 99¢ chandelier hung (i.e. when I can talk Mr. Superman into hanging it—somewhere
in between doing the body work and paint on his truck, taking his plumbing
masters exam, and finishing up the new apartment :-) )

So, anyway, I mixed
up my fancy homemade chalk paint (it was a lot clumpier than I expected it to
be- the plaster of paris never really dissolved [Edit: next time I'll follow one of my helpful readers' suggestions and mix the plaster with the water first, before adding the paint) and went to town on my poor table—first
with a foam roller, then adding another coat with a foam brush while it was
still damp. I found that the foam roller seemed to make a blotchy finish, and
the foam brush kind of streaked it on—but between the two, they created a nice,
thick, even coat of paint. I didn’t even need a second coat! Once I let it dry,
I wasn’t too happy with all the lumps of plaster on it, though, so I grabbed
hubby’s sander (I love playing with his power tools!) and went to town, ending
up with a lovely distressed finish. :)
 |
|
(And, yes, I did
the sanding right here in the dining room, because I couldn’t wait to get it
into the house to see what it was going to look like! LOL… Tell me you’ve never
done that!)
|
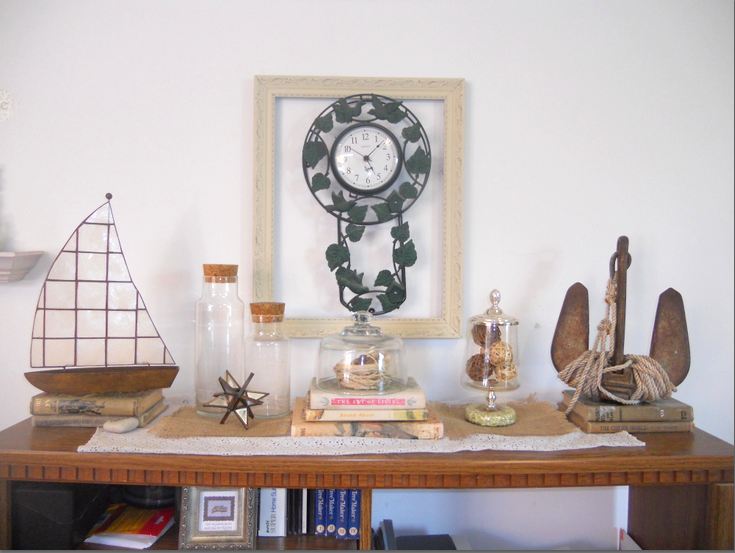
Then it was on to
the hard part—accessorizing and styling my beautiful new table! If you’re anything
like me, you change your displays dozens of times before you actually find one
that you’re satisfied with (and even then, you feel the urge to switch it
around a few more times!) I finally settled on the tabletop arrangement above—though
I’m still looking for a larger white platter to replace the white plate (that I
wrote a quote on with a dry-erase marker. Remember my aversion to permanence?)

So what do you think? The night after I painted it, I literally laid awake worrying if the color would be too bright for my house... but the more I look at it, the more I'm in LOVE with it! It brings the perfect pop of color into my dining room. Most importantly, every time I look at it, I smile! :)

And for a $5 table, I don't think it turned out half bad! :)


 "/>
"/>

"/>